Image Compressor Review: Resize First, Then Touch Quality
A hands-on review of local WebP compression for blog headers, product images and screenshots before publishing.
How I tested it: three images with different jobs
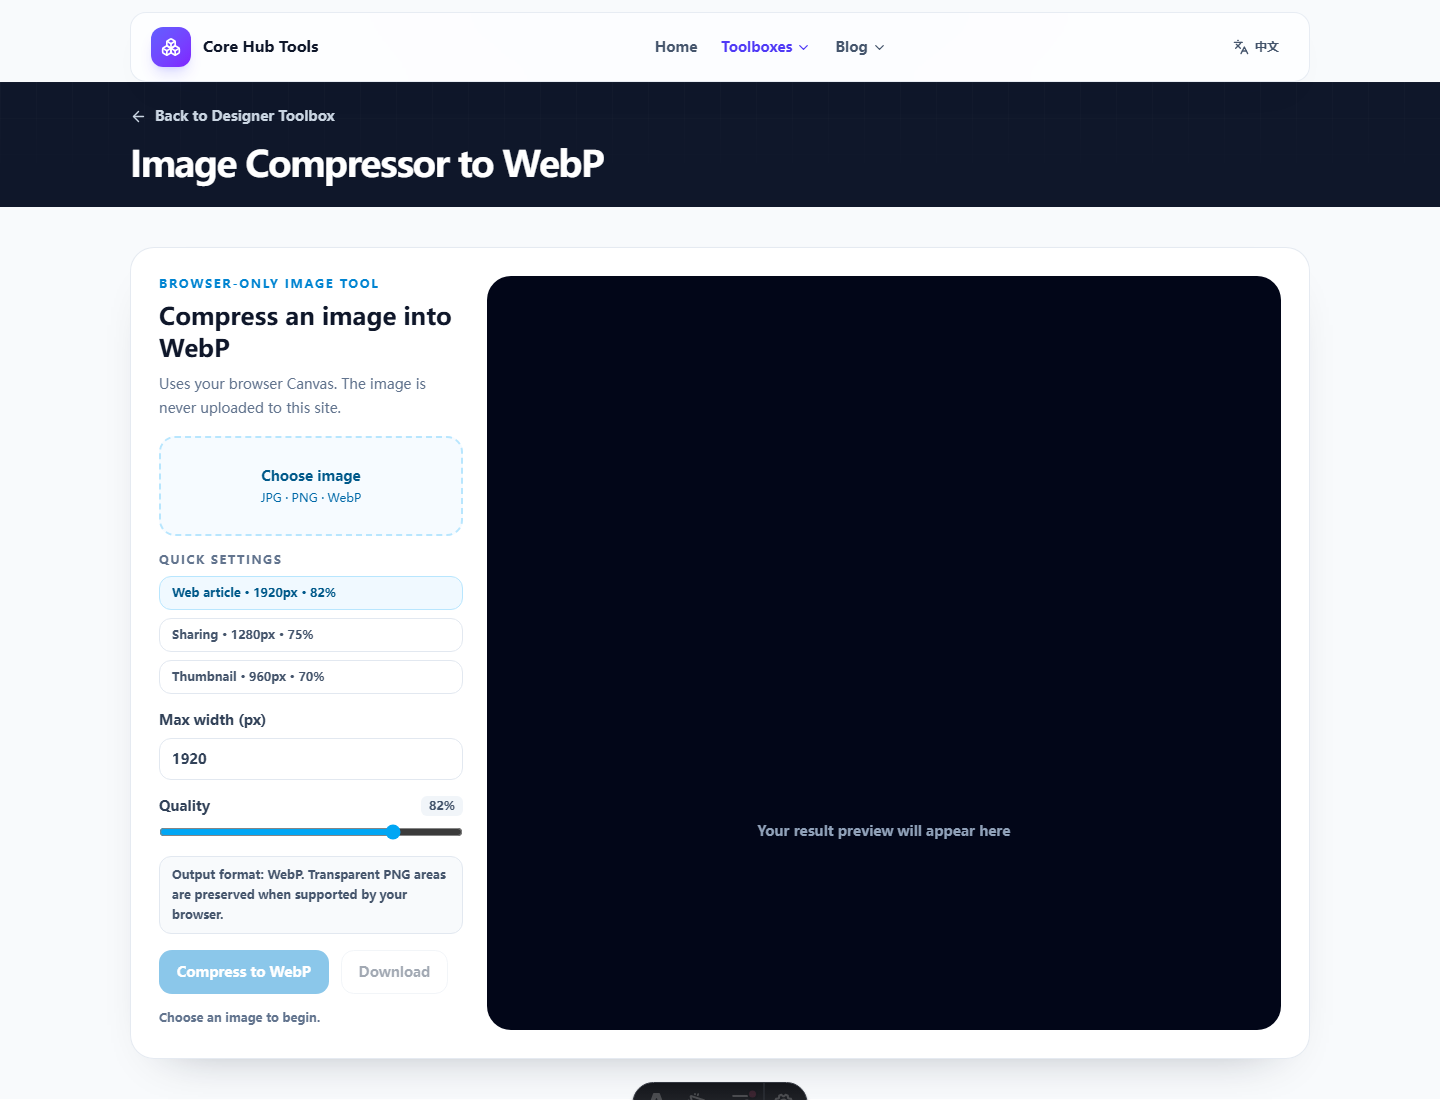
What stood out
For blog images, width mattered more than aggressive quality reduction. Screenshots needed more care because text edges degraded early. Product images needed checks around texture, edges and color, not just the savings number.
Pros and cons
- Pro: fast local workflow for one image at a time.
- Pro: practical controls for width, quality and WebP output.
- Pro: useful when you do not want to upload a source image.
- Con: no batch queue, file naming system, multi-format workflow or asset management.
Who it fits
It fits writers, site owners, operators and small sellers who occasionally need a lighter image. Teams processing dozens of images a day need something more complete.
Verdict
A good pre-publishing utility, not an image production system. Keep the original and treat the WebP as a delivery copy.
FAQ
Frequently asked questions
What should I know before choosing Image Compressor to WebP?+
This is a good single-image publishing helper. The best results usually come from resizing to the destination first, then adjusting WebP quality.
Is my image uploaded to a server?+
No. Reading, resizing, compression and download happen in your current browser.
Why is the output still large?+
The source may already be optimized, or the selected quality and dimensions may be close to the original. Try lower quality or a smaller width.